This is a list of easy tips to get the most out of online lessons.
- Use what works for you – Online lessons can be done in a myriad of ways, and different options will work better for one family. Lessons can be done in different formats:
- Real time: lessons take place in real time. This can involve video conferencing software, or telephone calls. The studio has accounts on Zoom, Skype, and Google Hangouts/Duo. I am also able to hold lessons via FaceTime. Families can pick the platform that works best for them. If internet connections are a problem, regular telephone calls can be used alone or in combination with video conferencing software
- If real time lessons aren’t an option, students can also trade videos with me instead of having live lessons.
- Test out your technology – If you are using video conferencing software, it’s good to set it up and have a little test prior to the first lesson. On the day of the lesson, set up your technology early so you have time to work out any bugs. Let me know if you’d like to do a test call at some point to assure things will work!
- Talk to the teacher if you have any concerns – Let me know if you have questions about the lessons, or the quality of the call. As mentioned above, there are many options for how to hold an online lesson, and I’m happy to help with any issues that come up.
- Students may need help – parental assistance is always helpful for any kind of lesson. Being involved with your child’s lessons and practicing will help them to stay more motivated and give them another person to go to when working on their practicing. When moving to video lessons, try to stick around in case there are any technical difficulties, especially during the first lesson.
- Make sure everything necessary is all set up prior to the lesson – this includes having the student’s music and instrument set up, making sure there is a pencil for writing notes and making sure devices are charged and charging chords are nearby in case they are needed.
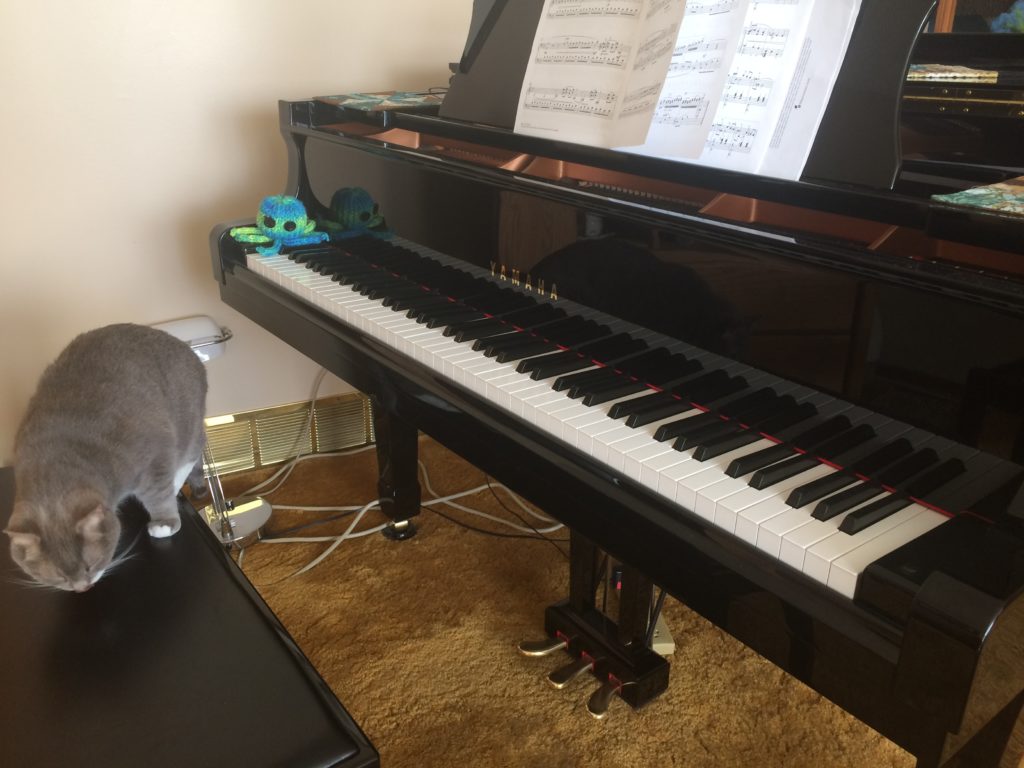
- Setup: if possible, set up the device so that the teacher can see the student’s face as well as their hands at the piano/on the clarinet. For clarinet, you simply need the device to be in front of the student, and far enough ahead to see both the child and their hands. For the piano, different options might work for you. Some students have put the device on the music rack, or on the end of the keyboard. This angle below works well:
Further tips: If you’d like to get the most out of your lessons, here are some a few technical tips to help get you set up to have a great lesson:
- If location/proximity permits, try to plug into your router with an ethernet cable rather than via wifi – this will allow you to have a more stable connection.
- If you have multiple devices, you might find different ones give you better sound. Test out a few options, if you have them, and see which one works best for you.
- Some platforms will allow you to adjust the sound settings to give you better audio. If you’re having trouble hearing the piano on my end, let me know and I can let you know if there’s audio settings you can change on your end!
This article will be updated with new tips and FAQs as needed! As usual, if you have any questions, please contact me. I’m happy to help students get set up for their online lessons.